

Building Disneyland in My Garage
This blog is usually where I share VFX tips, tutorials, and behind-the-scenes looks at filmmaking. But today I wanted to share something a little different. During the pandemic, I decided to build something for my kids that turned into one of my biggest DIY adventures yet: a full-blown spaceship in our garage.
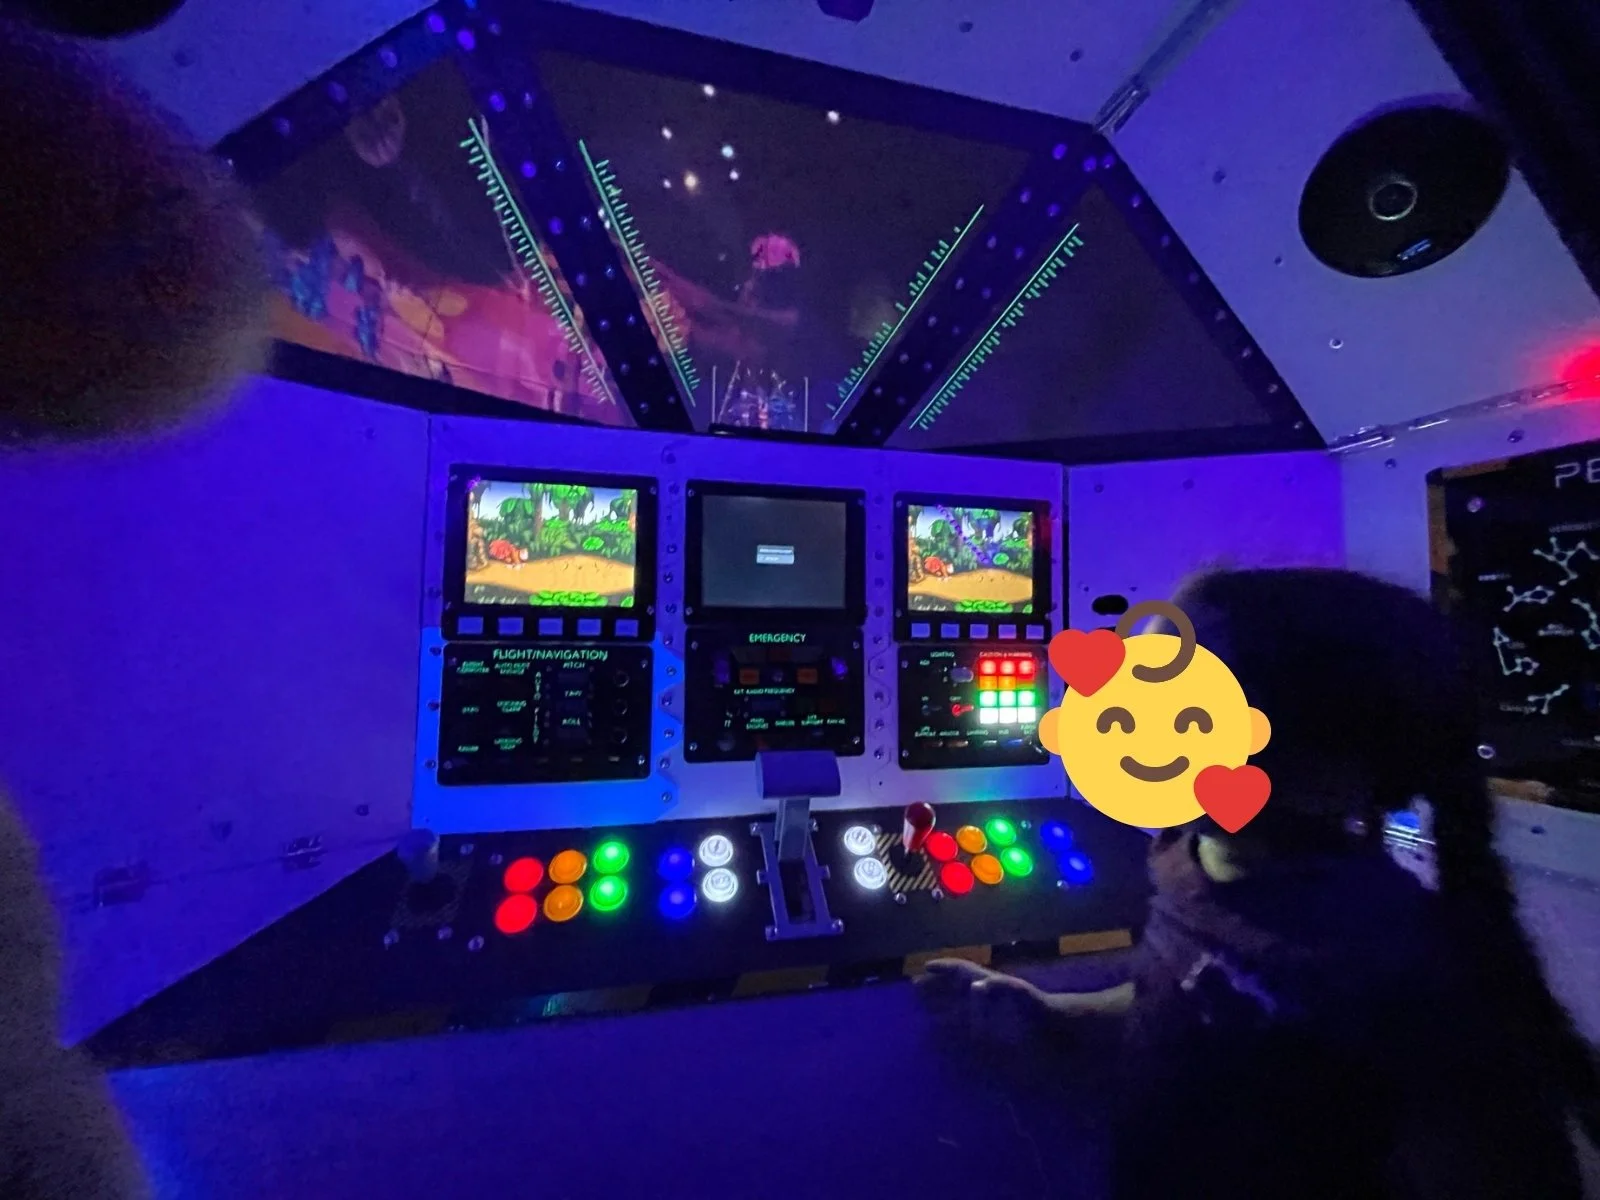


It was early 2021. COVID was still raging, Disneyland was closed, and there was no end in sight. Before the world shut down, I had been saving to buy my family annual passes to Disneyland—the good ones. Top-tier, no blackout dates. The kind that practically paid for themselves if you dropped in two or three times a month. But those plans evaporated when the gates closed. Then came the rumor: Disneyland might never bring back annual passes. Ever.
So, what do you do when the happiest place on earth disappears? You build your own.
The Spark
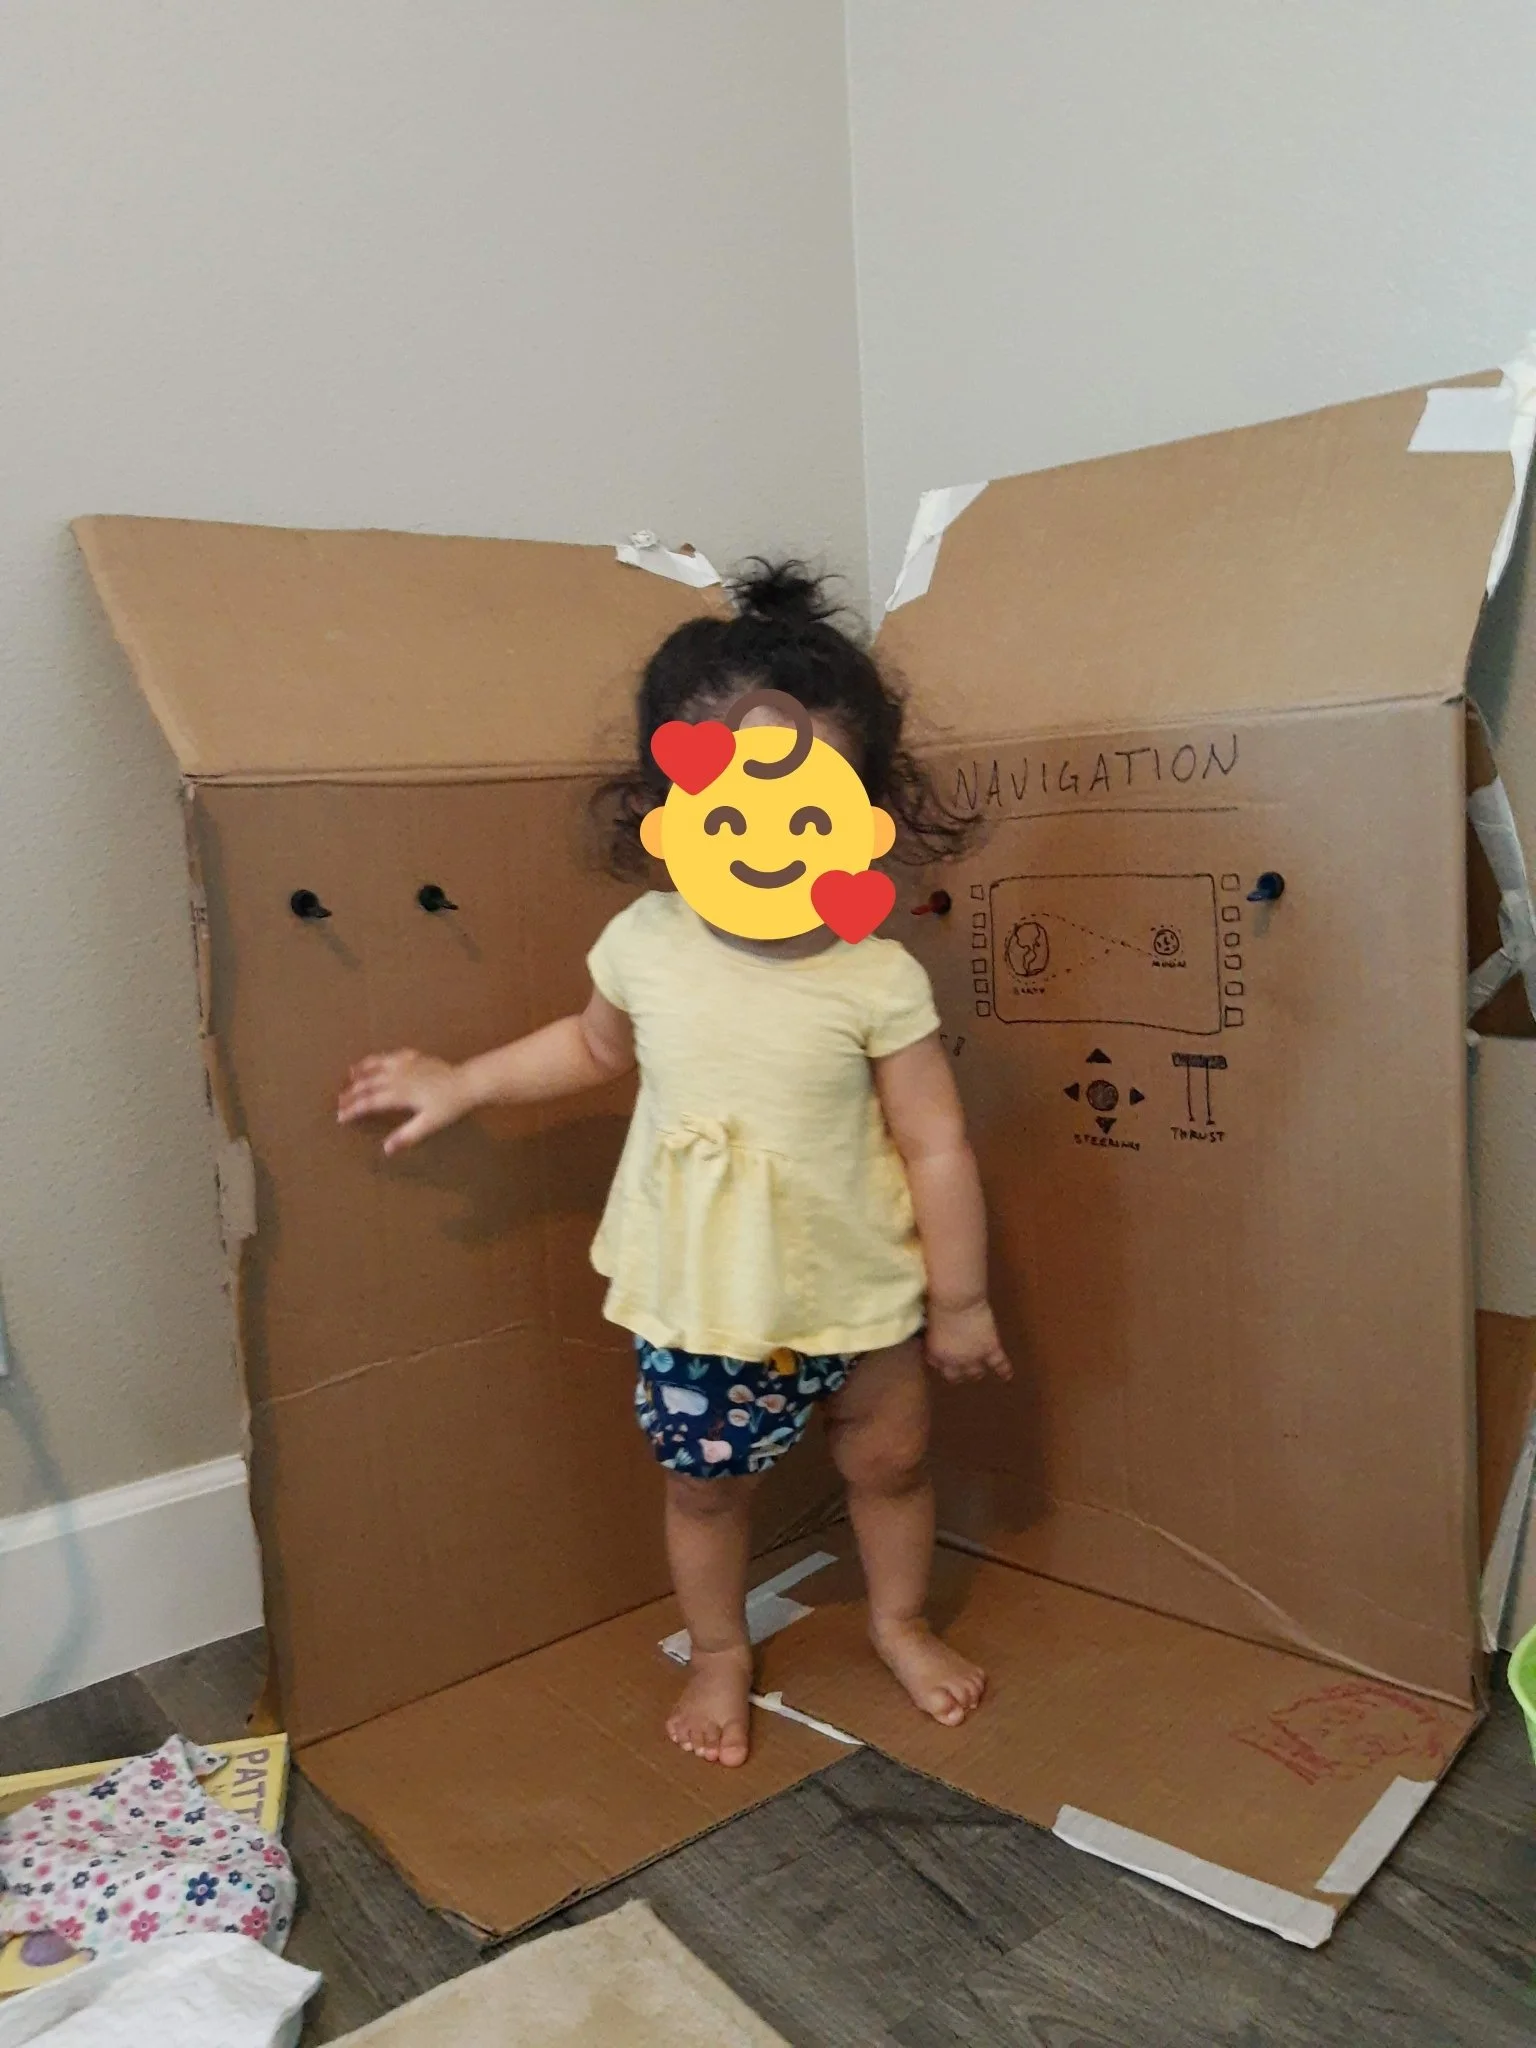
Like every kid, my kids LOVE space. One afternoon we were doodling buttons on an old cardboard box, pretending it was a spaceship control panel. That tiny box brought back a memory: when I was a kid, after watching Apollo 13, my grandfather (a former pilot) built me a cockpit console from a pegboard and a pile of fifty-cent light switches. It was basically a giant fidget board—perfect for his undiagnosed ADHD grandson.
That memory lit the fuse.
I decided I would build my kids a spaceship. And not just any spaceship. If we couldn’t go to Disneyland, I’d bring Disneyland to our garage.
Pre-Production, VFX Style

Early Blender design
Being a VFX artist, I approached this like a film set. Out came the notebook sketches, followed by 3D mockups in Blender. I measured bolts and screws down to the millimeter before buying a single part. For a few weeks I lived in that design file, obsessing over details.


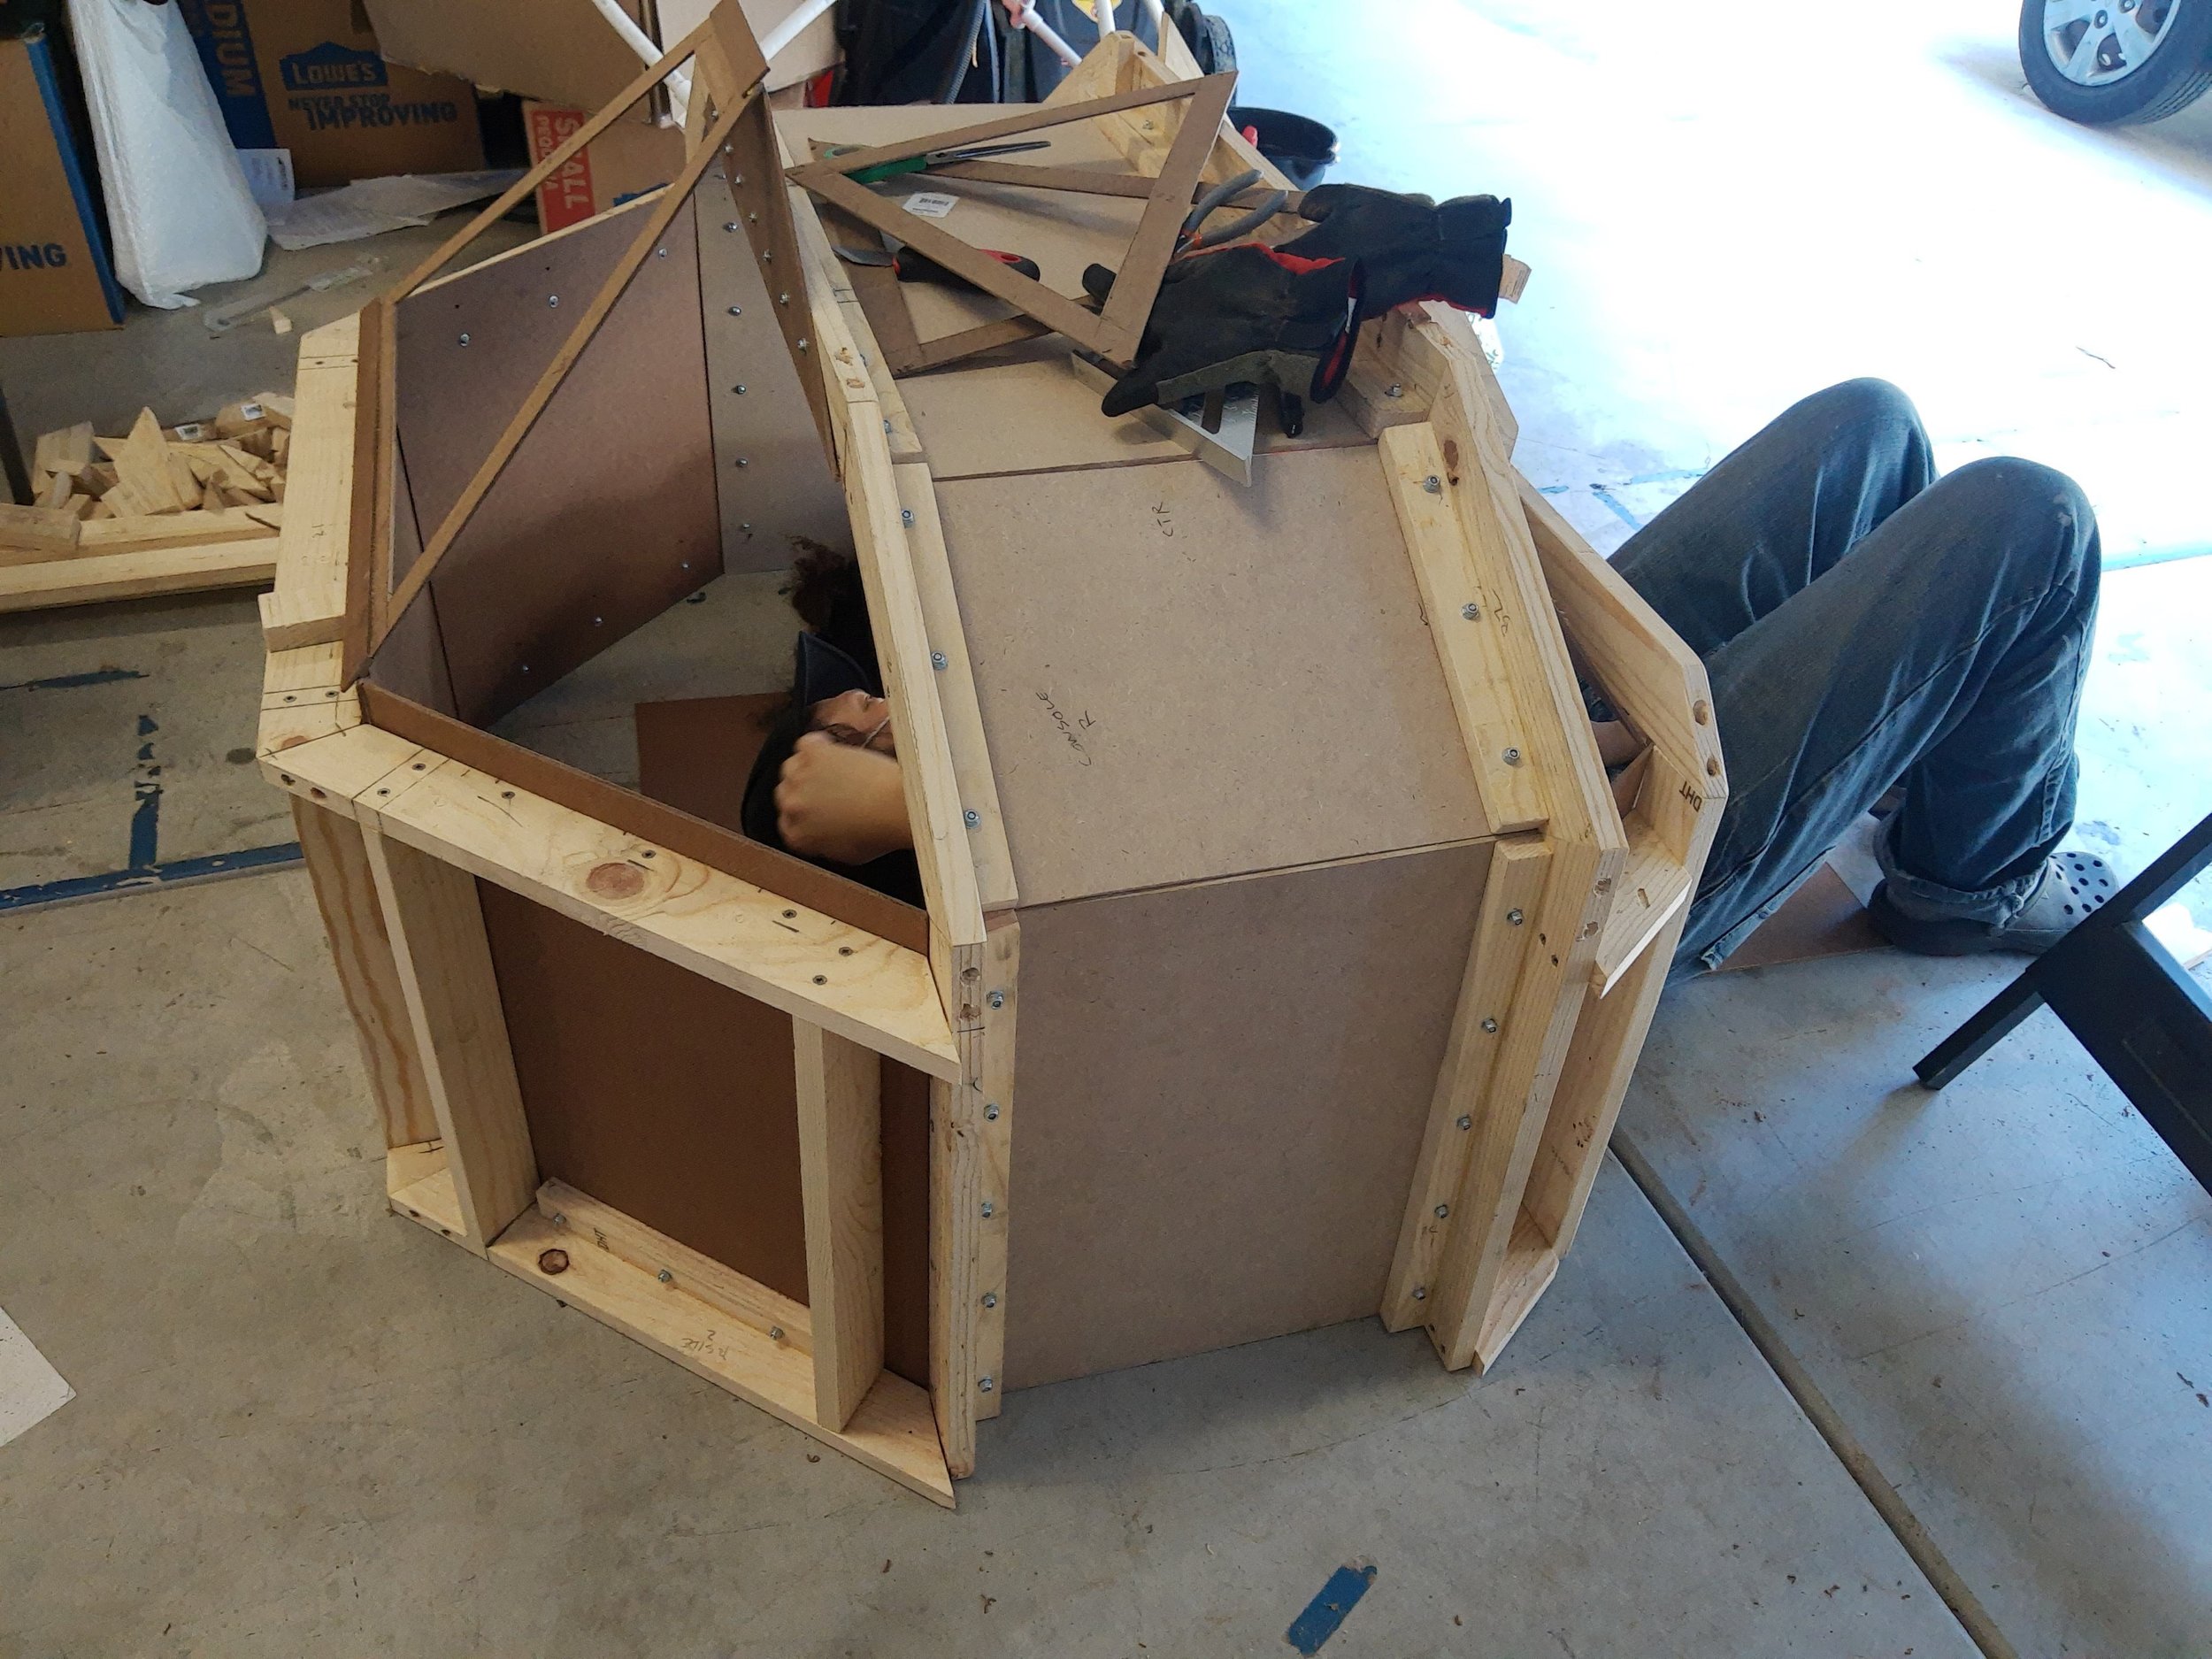

Originally, the cockpit was going to lie flat like an Apollo training capsule, but practicality won out. I flipped it upright—suddenly it looked more like an arcade cabinet. Which sparked another idea: What if it actually WAS an arcade cabinet?
From Fidget Box to Arcade Cabinet
At first, I just wanted lights and switches that clicked and glowed. But when I stumbled across a Raspberry Pi setup loaded with (totally legitimate, definitely not bootleg) retro arcade games, the mission changed. With 3 relatively inexpensive 8” LCDs wired through an HDMI splitter, the ship became not only a cockpit but also a time machine into my own childhood.
Suddenly, the kids weren’t just astronauts—they were arcade pilots.



Enter the 3D Printer
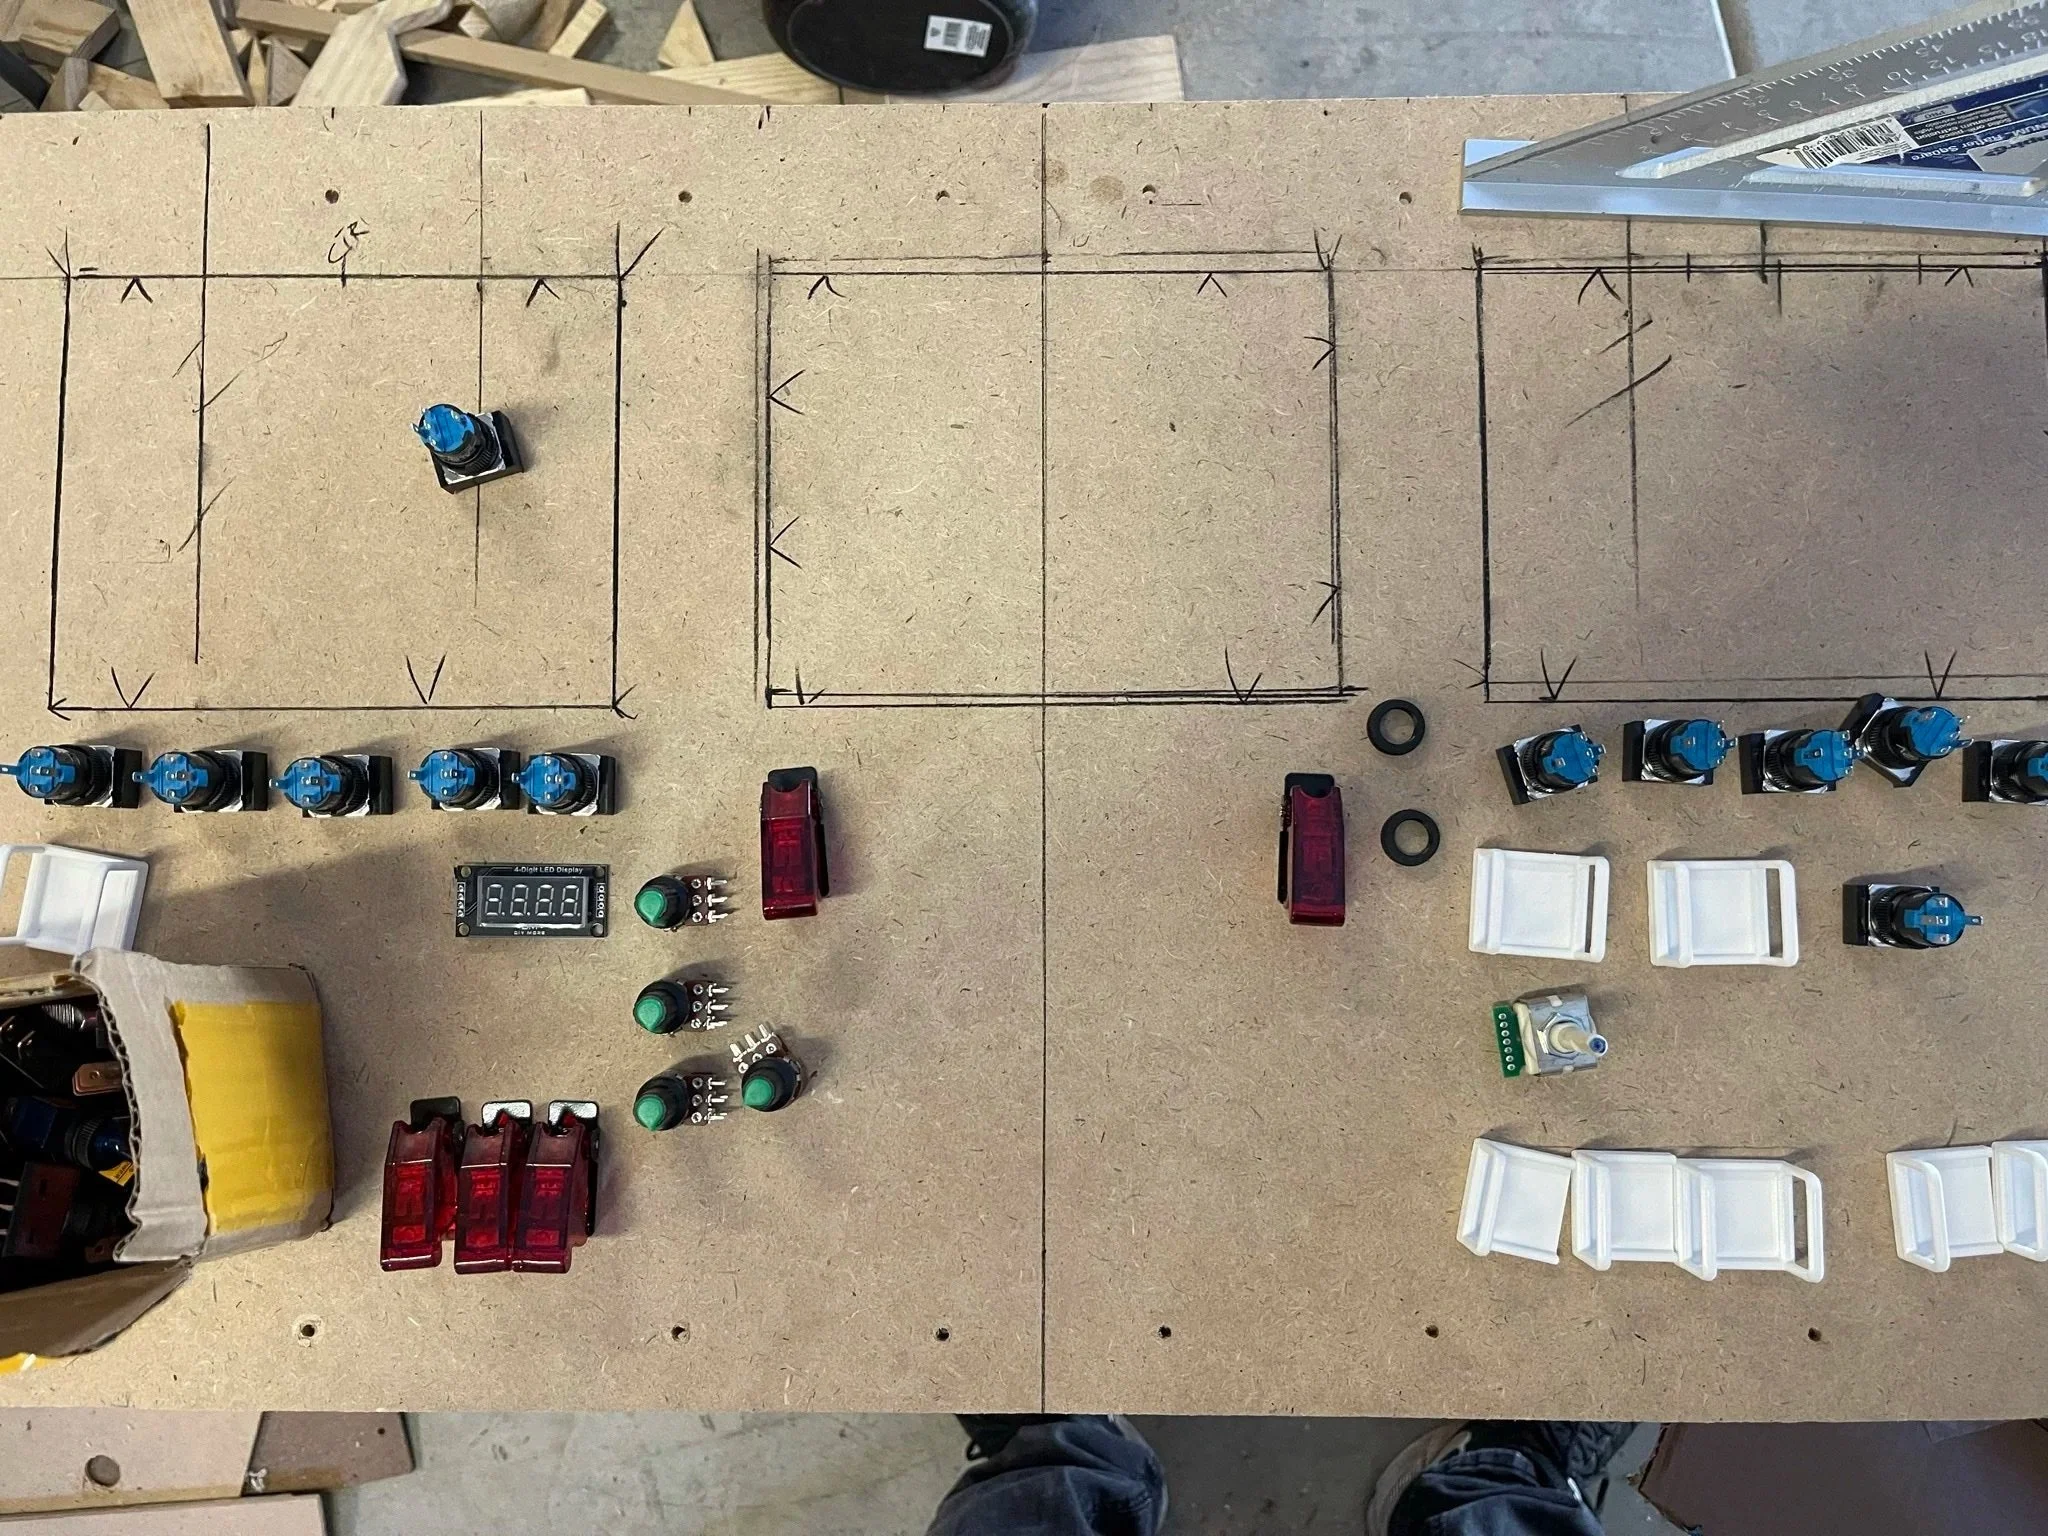
Everything up until then was hand-cut wood. Then I snagged a Longer LK4 3D printer on a flash sale. Game. Changer.
Overnight, my janky wooden frames became sleek PLA panels. Switch housings, display bezels, custom couplings—if I could imagine it, I could print it. Every new component felt like unlocking a cheat code.


Turning It Into an Experience
I didn’t just want this to be a toy—I wanted it to be an experience. That’s where the VFX producer brain kicked in. A few years earlier, I had worked on creating 360° content for a display product called The Magic Globe—a projector that threw images onto a frosted white sphere from the inside. It was an amazing piece of tech for trade shows and classrooms. The coolest part, though, was that if you removed the globe, you were left with a planetarium projector. And, lucky for me, I still had one in storage.


So I built a projection dome outside the cockpit and started casting whole worlds across the garage ceiling. With the right footage, my kids weren’t just sitting in a cockpit—they were transported. We “rode” Disneyland’s It’s a Small World in full dome projection, and even found restored 4K footage from Universal’s Back to the Future ride. Since that footage was designed for a dome, it projected beautifully, like we’d brought the ride itself into our garage.
To complete the illusion, I added car speakers overhead, a bass shaker in the floor, and a ventilation system to keep the cabin comfortable in the summer months. For a brief and very short-lived experiment, I even connected a fog machine to the air system to simulate an emergency. One panic attack later, that feature was retired.
With the sound, the projection, and even seats with real airplane buckles, our garage had officially transformed. We didn’t just have a spaceship anymore—we had our own theme park attraction.


Suits and Storyboards
Naturally, I started planning a short film starring the kids. I storyboarded shots, bought a sewing machine, and made them custom space suits. Growth spurts ended that dream—at least until version 2.0.


The Verdict
At first, the kids were impressed… for about five minutes. Then they wandered off to draw on the garage walls with chalk. But once they figured out how to play arcade games, everything changed. Now they’ll spend hours inside, blasting through the same retro titles I grew up with.
One of my favorite meta moments: sitting inside our homemade spaceship, playing Back to the Future on NES, while watching Back to the Future, while “riding” the Back to the Future ride.
Universal… please don’t sue me.
If you’ve made it this far, thank you for indulging my tale of amateur engineering. This spaceship may have started as a consolation prize for Disneyland, but it became something much bigger: a little piece of magic we built ourselves.
And the adventure isn’t over.
Stay tuned—I’ll be sharing tutorials on how I built the individual components soon.







During the pandemic, I built my kids a full-blown spaceship in our garage—and learned a lot along the way.